Configuring your Social Tracker is easy and should take no more than five minutes to set up.
Connect Your Social Accounts
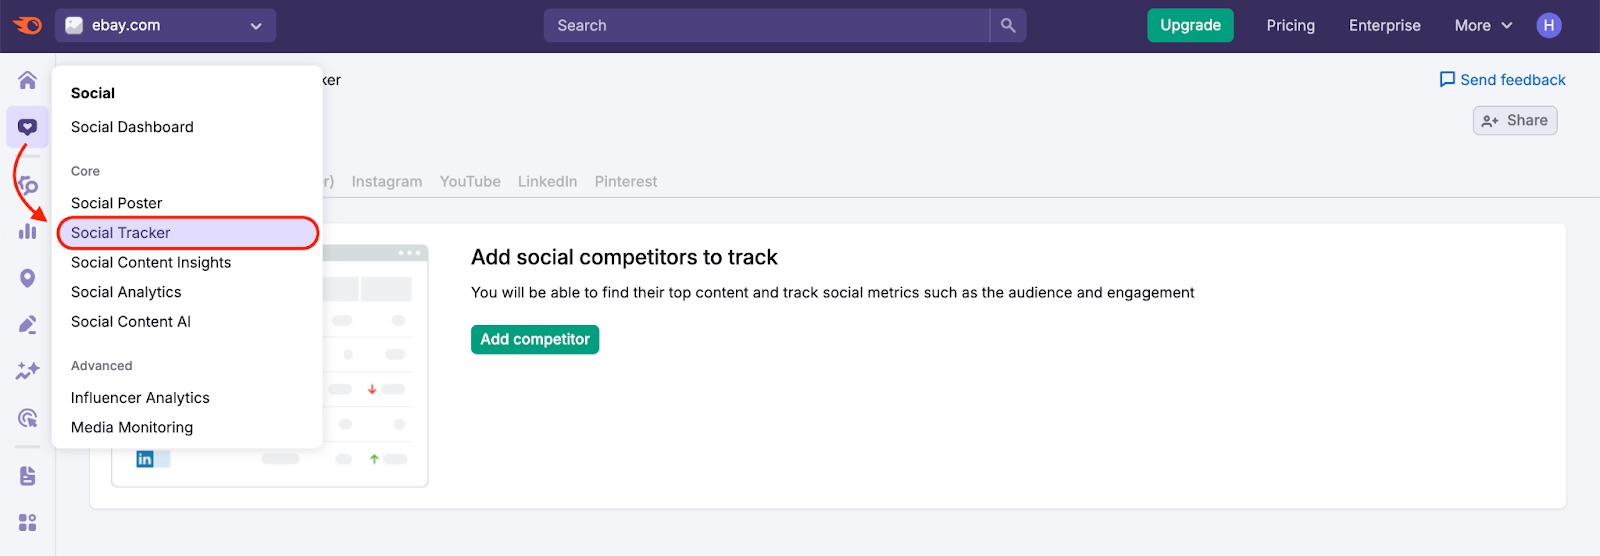
To start monitoring your competitors’ social media accounts in Social Tracker, you’ll need to purchase the Social Toolkit subscription first. Once subscribed, you can begin setting up Social Tracker, which is located in the left menu under the Social Toolkit tab.
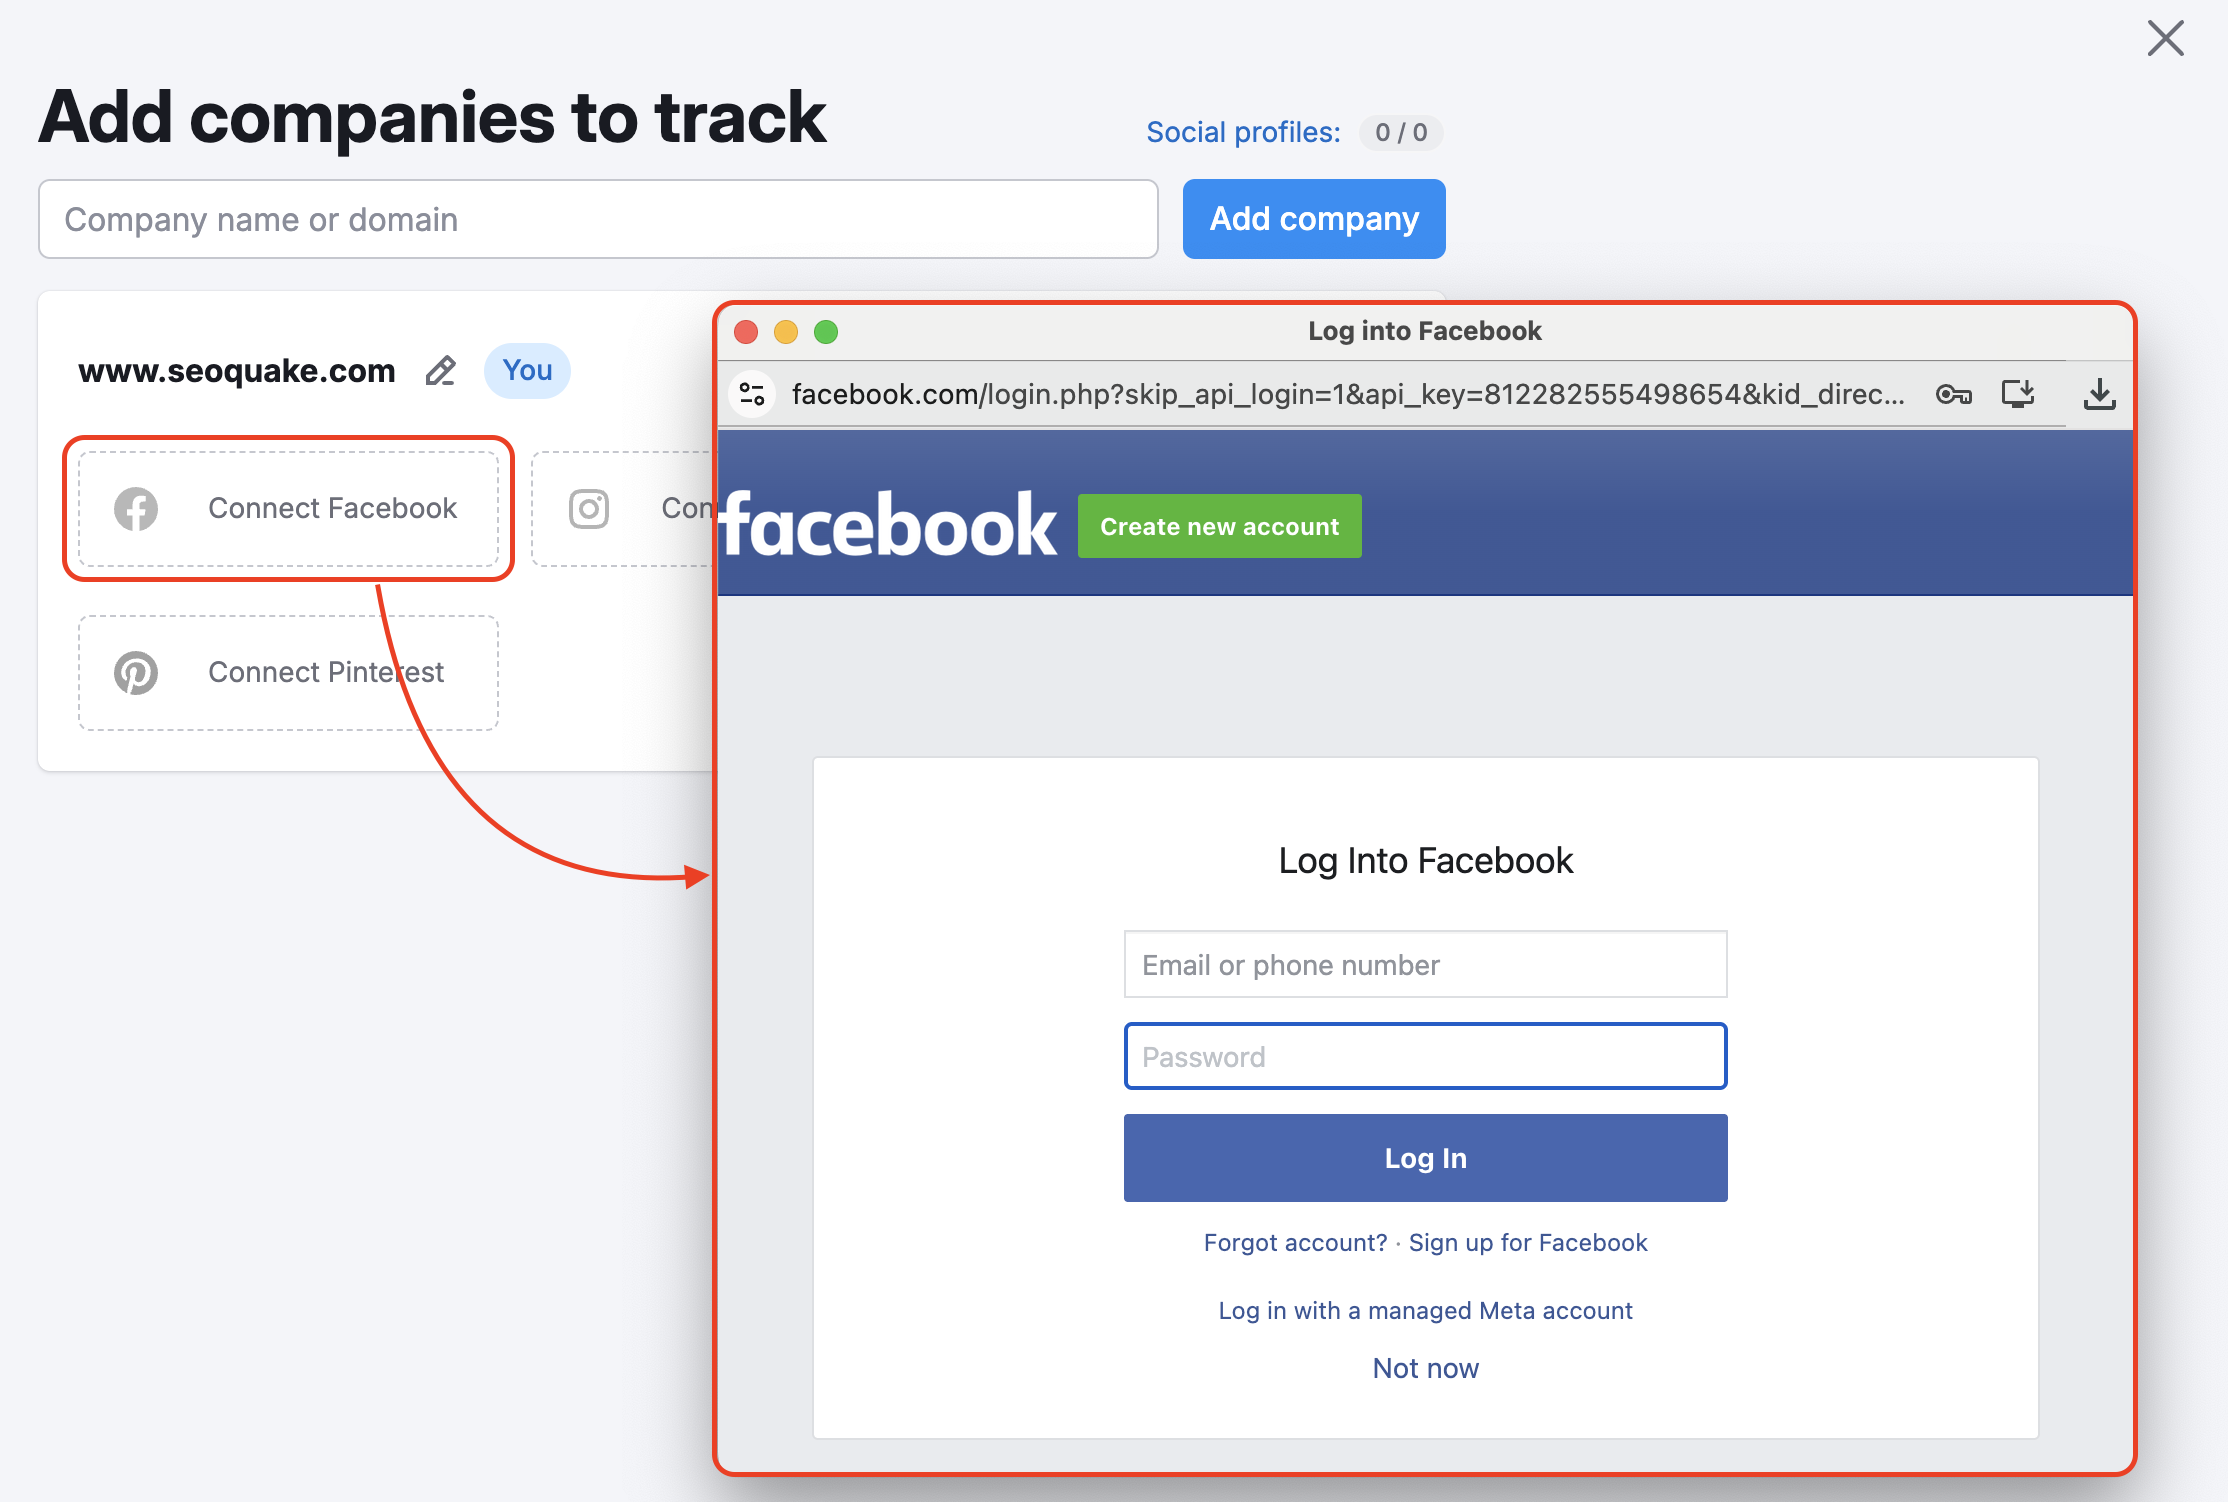
You can connect each of your social profiles individually by logging into your account on each platform and confirming that you authorize Semrush to use this connection.
On Facebook we only track business pages, no personal pages or groups, so make sure you add the URL of a business page. Keep in mind that the tool cannot track business pages that have access restrictions, the page should be available to the public.
The same goes for Instagram, we only track Instagram business pages.
Note: In order to connect to your Instagram Business page you must first login through your Facebook account. For more information check out this article here.
For YouTube, we track channels and not users. YouTube channels have multiple URLs, so make sure you copy the channel URL if you’re adding a YouTube profile manually.
Once you decide to connect one of your social profiles with the tracker you will be brought to a widget that allows you to connect your profile. This requires logging into your accounts on each channel before connecting within the setup wizard.
*It’s important to note that Semrush does not take any personal information from your social profiles*
The way we collect the data in this tool is by performing a number of API calls to the social media platforms, and in order to perform these calls, we need to have a connected account on each platform.
If you have any concerns about syncing a personal social media profile to Semrush, you can keep in mind the following:
- Semrush doesn’t need anyone’s personal data. All we need is a valid connection for an account, the reason being that we use these connections to perform API queries to fetch data. So we collect data not from the accounts that were connected, but from accounts that are specified in steps 2 and 3 of the wizard.
- If the account isn’t publicly visible (a private account), we will not even have the means to access your data. All the data that we collect is publicly available.
- You can revoke this access at any time.
- If you don’t wish to connect your personal account for any reason, you can simply re-login under a different account on the same channel.
Add Competitors
The next step after connecting your social media profile is adding your competitors. After you enter the competitor name or domain of your competitor, Semrush will search for their profiles and add the pages it finds.
If a competitor’s social media account is not found by Semrush, you can add them manually by entering the URL for their page on that respective social network. Finally, click on the start tracking competitors button at the bottom to start tracking your competition.
Note: There is a maximum of 21 companies that can be added to the Social Tracker in one folder—one for your domain and 20 competitors.
Change Your Settings
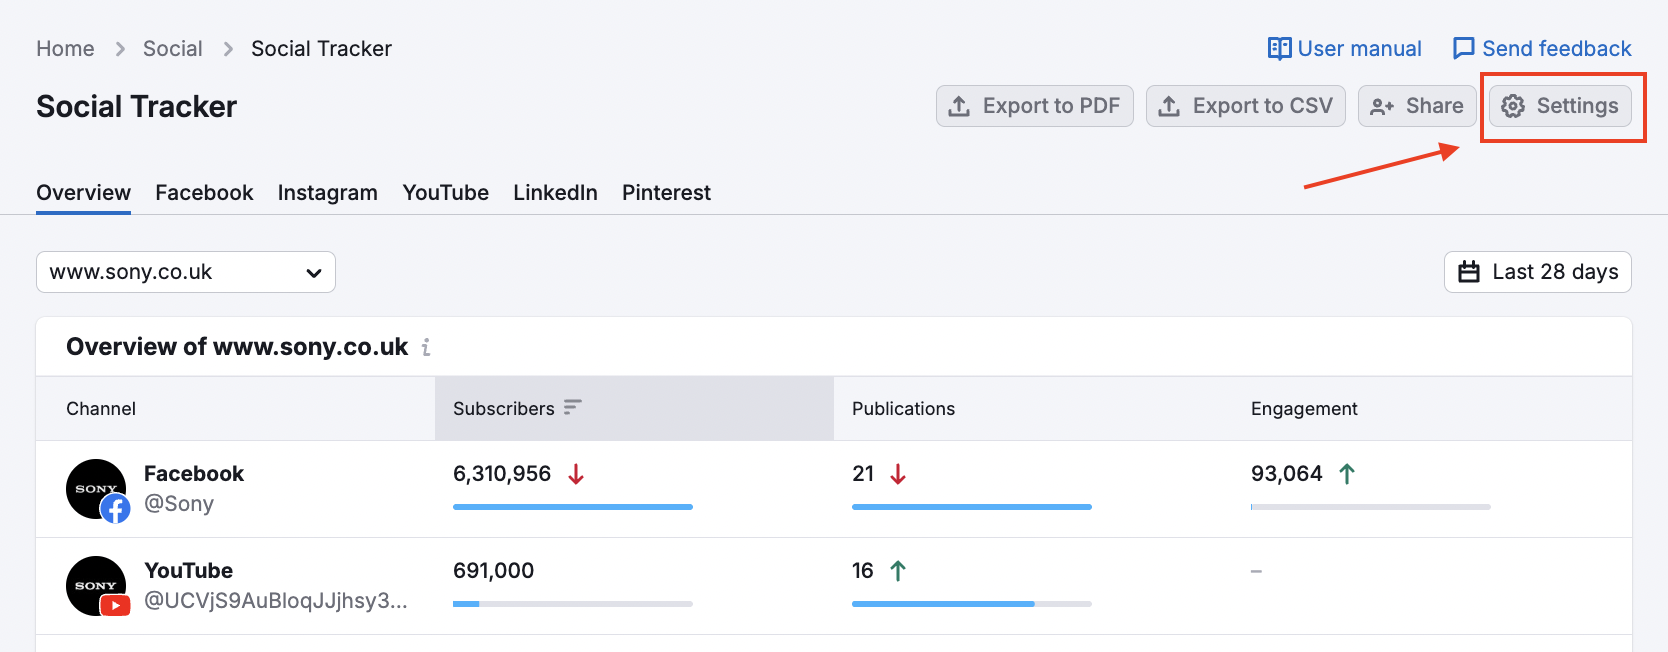
If there comes a time when you want to set up an additional social media profile, you can add another one through your settings. Click on the settings icon in the top right of your dashboard to prompt the settings widget.
Once in the settings widget, you will see all of your current profiles. Here you can see if a certain social media platform is missing (YouTube, Facebook, etc.). If you’re missing a platform you can add it here.
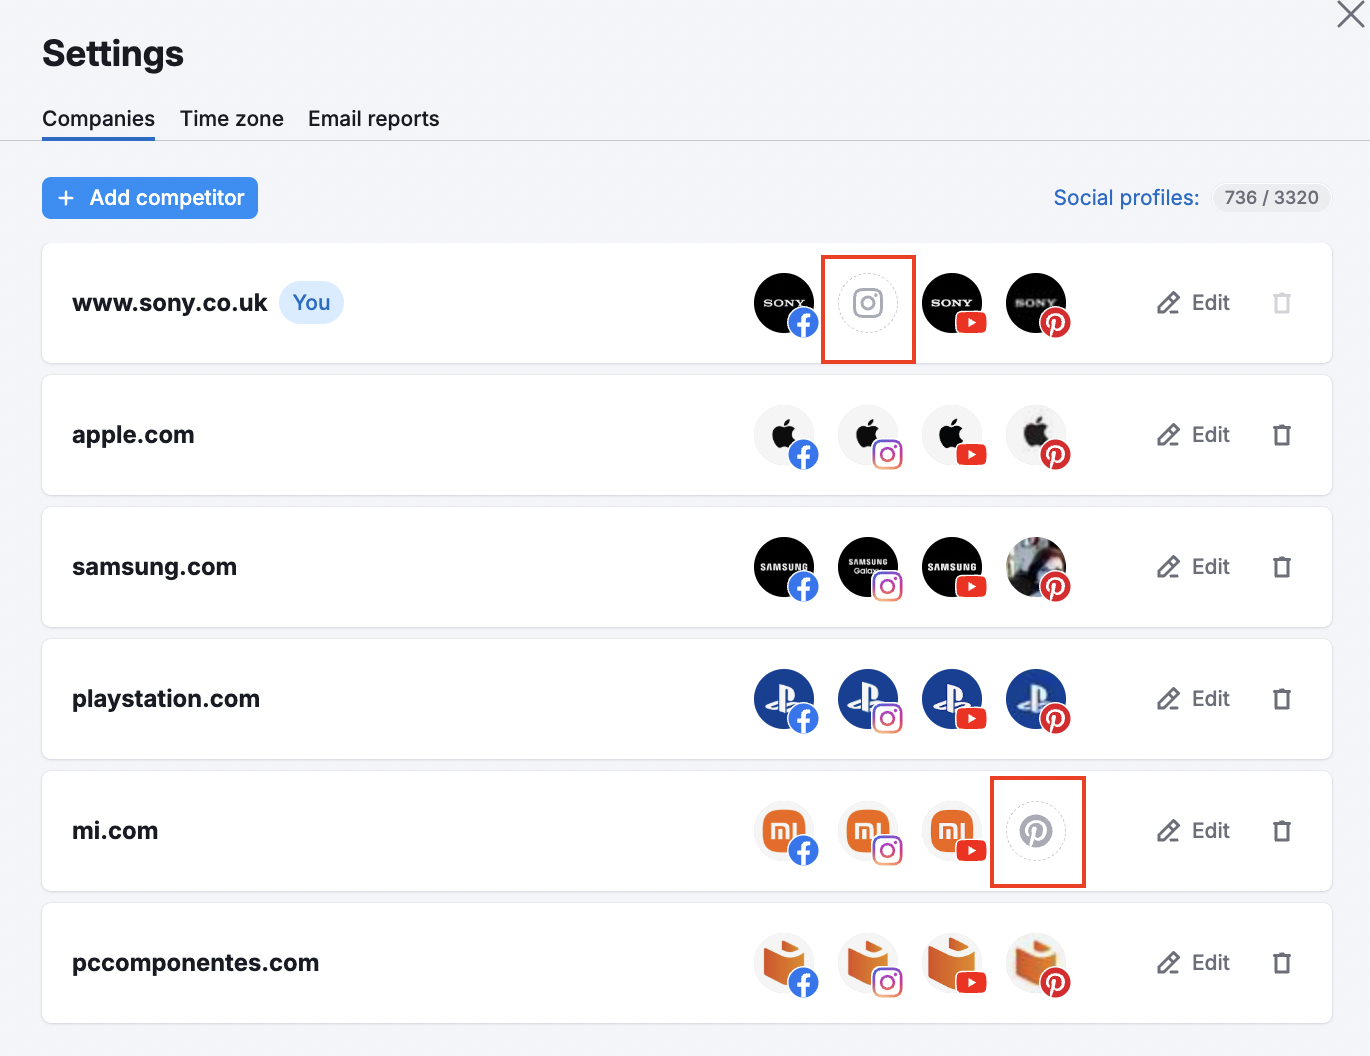
Not only can you add additional social accounts, but you can also add more competitors. If you realize you missed out on tracking one of them, you can add them with the blue + Add competitor button above your current profiles.
In addition to competitors, you can change your time zone settings and schedule your email reports. The email options lets you receive email reports for the overview, audience and engagement reports.
These emails can be scheduled for any day of the week (or month) and can be sent to any email address you’d like. Each report can be sent to up to ten different email addresses.
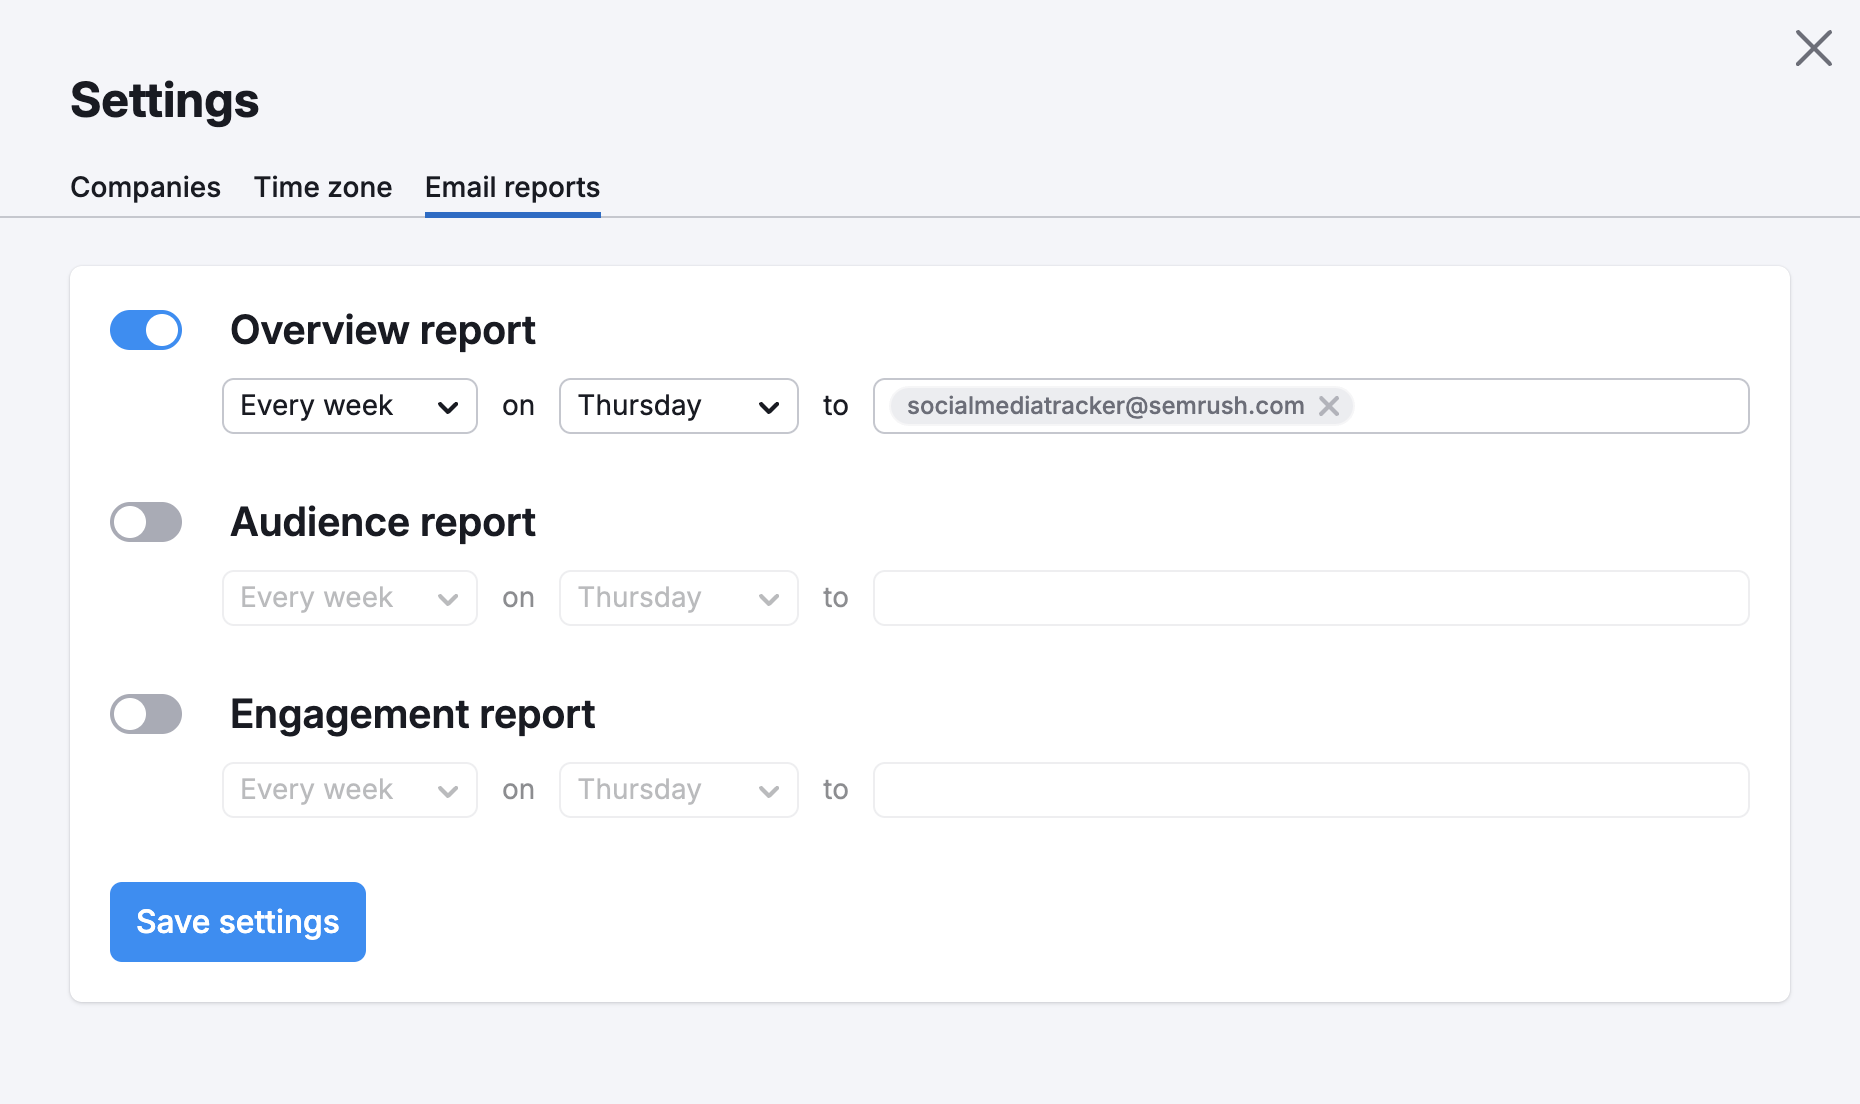
Send these reports to yourself, your boss, or your client to keep everybody on top of your social media presence and performance.
Add Profiles
Depending on the level of your Social Toolkit subscription, you’ll have a limit on the number of social profiles you can track.
For detailed information, please refer to the Social Toolkit Pricing and Plans article.
If you connected the wrong Social Media аccount, you can disconnect it and reconnect the right one to get the correct data. Read more about it in the article How to Disconnect your Social Media Accounts from Semrush.
Now that your Social Tracker is all setup and ready to go, you can begin checking out your competitors’ top content and engagement levels with the Overview report.
Share a Folder
You can share your results from the Social Tracker tool by clicking the Share button at the top-right, adding an email address, and selecting the viewing permissions.
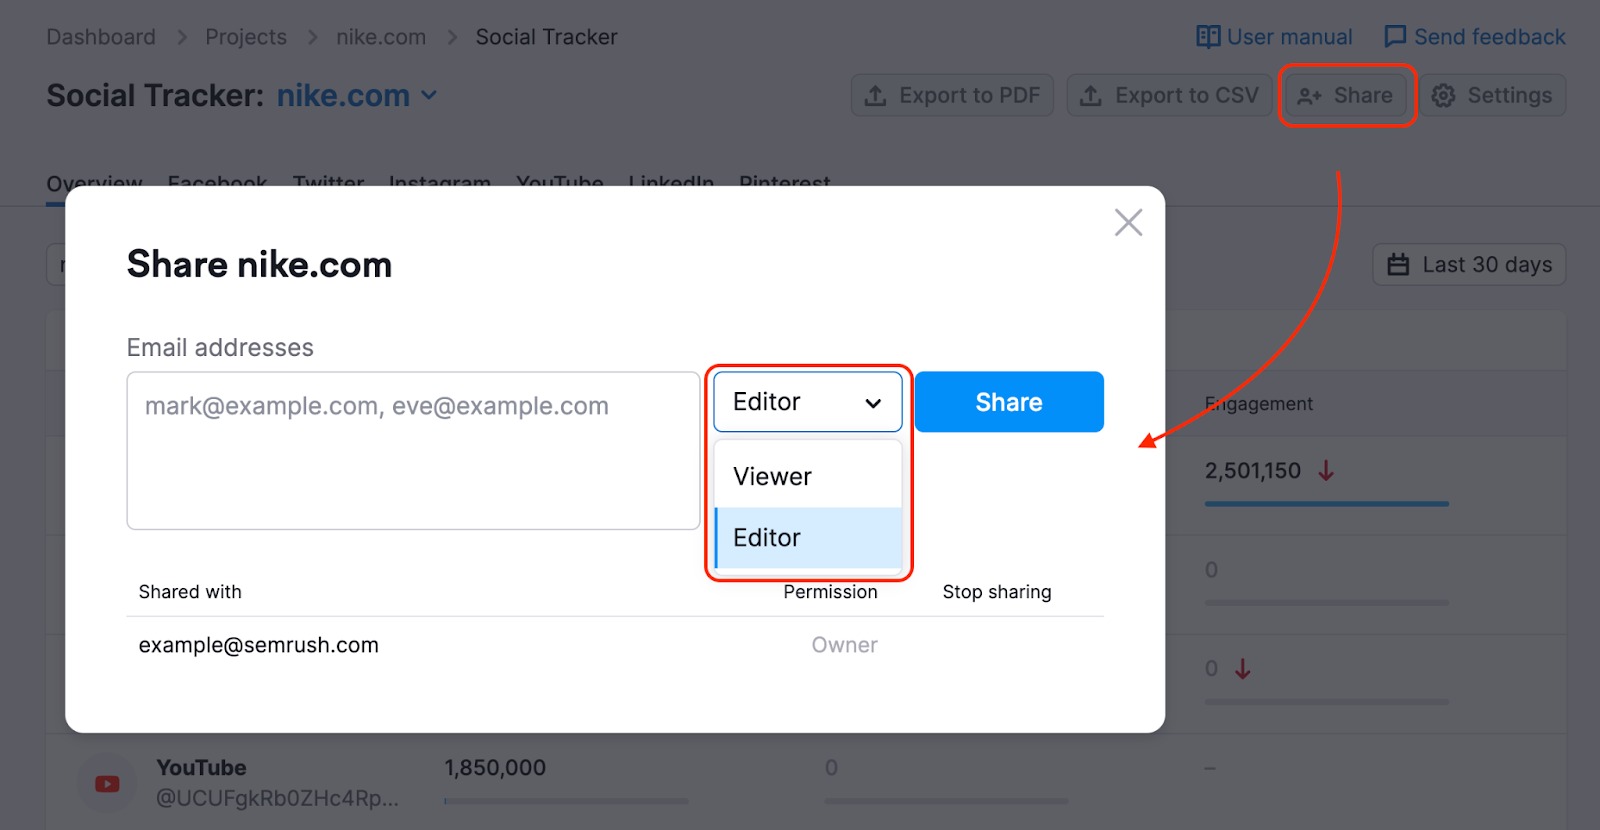
Please kindly note that a person should have the Social Toolkit purchased in order to view your folder with an Editor’s permission. If you share a folder with an Editor access to a user without the Social Toolkit subscription, they will see it as a Viewer and will not be able to make any changes.